Published on February 20, 2019
5 min read
New: How to get up and running quickly using GitLab Pages templates
We're introducing bundled GitLab Pages templates, so let's take a look at how easy it really is now to get up and running with a new site.

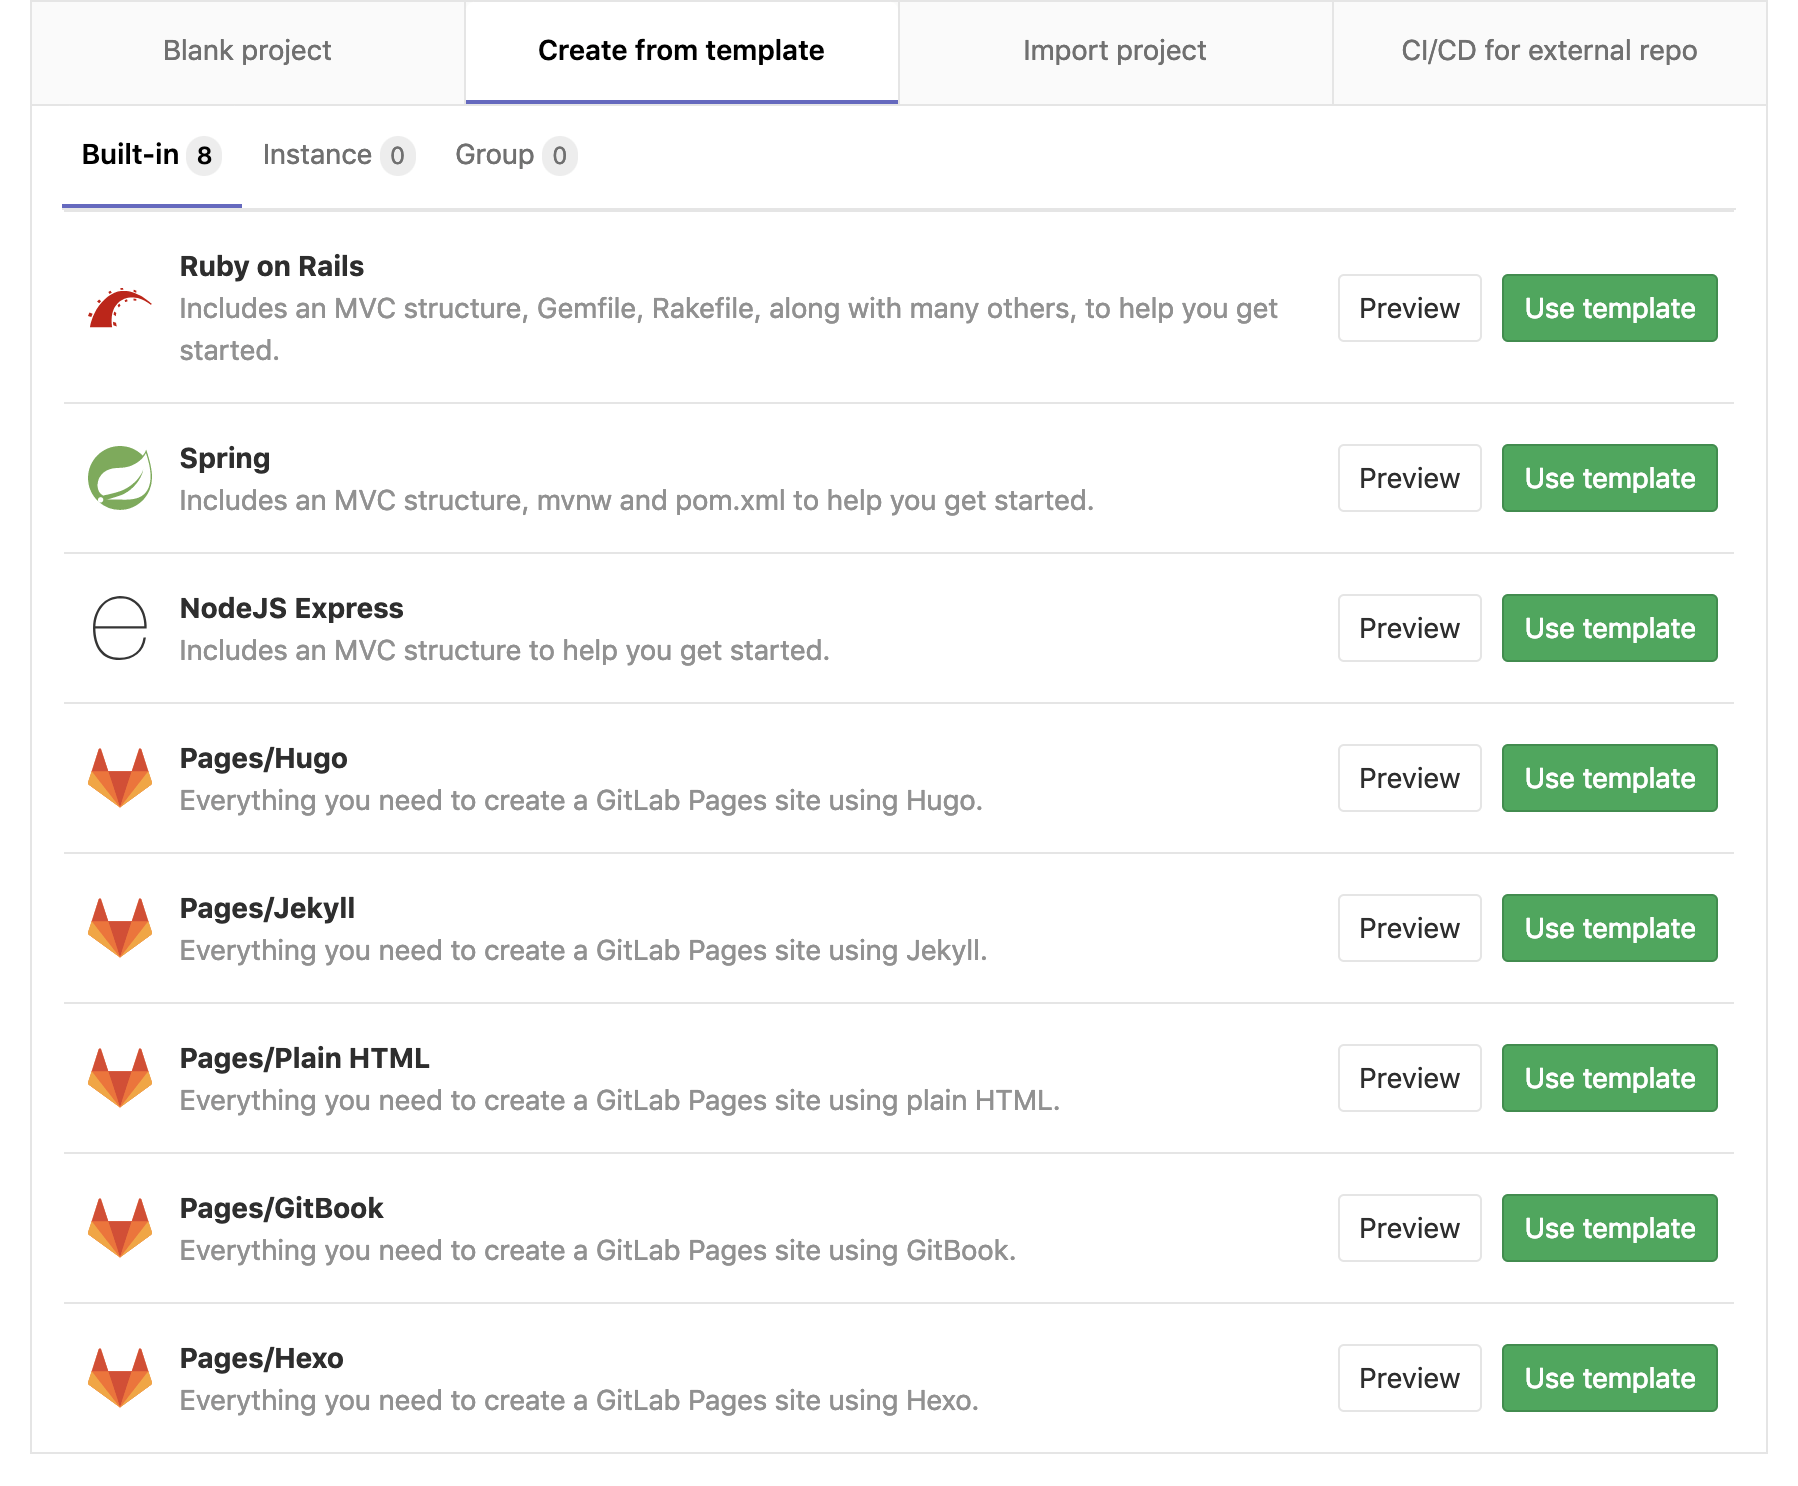
Hello everyone, my name is Jason Yavorska and I'm the product manager for the Release stage here at GitLab, which includes GitLab Pages. In our GitLab 11.8 release (March 2019) we're introducing a quick way to select from our most popular Pages templates directly from the new project setup screen. If you use GitLab.com, you can take advantage of this feature already! It looks a bit like this:

Now, instead of having to fork an existing template, you can simply select one of the bundled ones and get going right away. If you're interested in one of the other templates, you can still create those in the old way – check out the existing documentation on how to fork a template.
In this article I'm going to show you just how effortless all of this can be. But first:
My experience contributing GitLab Pages templates
First, though, I'd be remiss if I didn't mention that I contributed this change myself (with the help of a few key supporting players, of course.) Now, you may be wondering: I thought you were a product manager at GitLab? Not a developer? Well, that's absolutely true, but I am a hobbyist programmer on the side. I've contributed a small change here or there on my own time, but this was the largest, most complex thing that I've ever contributed myself.
I always find in these situations that contributing is in some ways easier than you expect, and in some ways more challenging. Getting the code working was actually surprisingly straightforward: I was able to get our GDK (GitLab Development Kit) up and running with minimal hassle, and then was able to iterate quickly until I found a working solution. Most of my challenges ended up being around getting the change through our review process and into the release. There's a lot you have to learn there, and I think it just takes some time and practice in order to have it all click. What was truly amazing, though, was all the friendly people who jumped in to help me along the way. I learned so much and am so proud of how everything came together in the end.
If you're considering making your first contribution, feel free to reach out to me on Twitter (@j4yav) and I'll be happy to help guide you in the right direction. Contributing to open source is a great feeling, big or small, and if you haven't tried it before you should really give it a go.
Now let's set up a site!
With that out of the way, let's see this in action to appreciate just how painless it really is to set up a new site in GitLab pages now.
The video below walks through the steps, with full instructions underneath.
Note that if you're using a private on-premise version of GitLab, be sure to check with your administrator to ensure that Pages is enabled. You may need to adjust some of the URLs in the setup below depending on your site configuration.
1. Create the new project
For this example, we'll use the Hugo template, our most popular one. Simply go to the GitLab home page, and select "New Project" from the top right. Click on "Create from template," click on the Hugo template, and then click on "Use template." Give it a name like namespace.gitlab.io, where namespace is your username or groupname.
2. Run your first pipeline
We need to make one quick edit, which will naturally kick off a pipeline and deploy our site for the first time. What we need to do is edit our config.toml to have the same URL that we set up in the project name. To do this we will go to Repository → Files, click on the config.toml file, and then click on "Edit" in the toolbar. All we need to do is change the baseurl = "https://pages.gitlab.io/hugo/" line to baseurl = "https://namespace.gitlab.io/" (again, replacing namespace with your username or groupname).
Commit your changes, then head over to CI/CD → Pipelines and look for the new pipeline that's running. You can click on the status to see the build log, or just wait for it to finish – you might be surprised at how fast this is! Once the pipeline passes, we're good to go. It may take a minute or two for everything to work through replication, but once it does, you can see your new site at https://namespace.gitlab.io/, beautiful template included, just waiting for you to customize further.
3. Where to go next
There's a lot of basic configuration for your site in the config.toml, check that out and see what you might like to modify. The about page is in /content/page/about.md, and you can see example posts for your blog in /content/post – feel free to delete these when you're done with them. Since these are written in markdown they are a piece of cake to edit or add new ones. Getting started with Hugo is a bit out of scope for this post, but I assure you it's quite straightforward. You can check out the Hugo getting started pages for more ideas on what you can do. Be sure also to check out Hugo themes if you're looking for inspiration.
Hopefully this was helpful in getting you started. Good luck with your new site!
Cover image by José Alejandro Cuffia(https://unsplash.com/@alecuffia) on Unsplash
We want to hear from you
Enjoyed reading this blog post or have questions or feedback? Share your thoughts by creating a new topic in the GitLab community forum.Share your feedbackFind out which plan works best for your team
Learn about pricingLearn about what GitLab can do for your team
Talk to an expert