Updated on April 24, 2025
8 min read
Build enterprise-grade IaC pipelines with GitLab DevSecOps
Learn how to transform infrastructure automation into scalable, secure pipelines using GitLab, Terraform/OpenTofu, and Ansible with integrated security scanning and CI/CD.

Infrastructure-as-code tools like TerraForm/OpenTofu and configuration management tools like Ansible are often part of mission-critical workflows. Such projects sometimes start as simple automations and are not necessarily subject to the same software development best practices and regulatory controls as business software applications.
At the same time many of these automations are developed by system engineers or infrastructure engineers who may not have as much experience with DevOps, DevSecOps, CI/CD, and test automation practices. This becomes even more complicated when you work in a large enterprise organization with multiple engineers and siloed teams.
At GitLab we know DevSecOps and we have been using our unified DevSecOps platform for enterprise-scale, mission-critical automation workloads for more than 10 years. We have thousands of customers who use GitLab as a foundation for infrastructure as code (IaC), automation, cloud, and platform engineering practices.
In this article, we showcase some of the key features teams can leverage to turn their powerful automations into scalable and auditable software delivery pipelines.

Implementation
This project demonstrates a comprehensive DevOps workflow that combines the power of OpenTofu with modern Ansible practices, all orchestrated through GitLab CI/CD pipelines. The solution showcases how to provision an AWS lab environment using OpenTofu components integrated with GitLab, and then deploy a Tomcat web server using modern Ansible, including custom execution environments and collections.
The project leverages numerous GitLab features:
- Building and storing custom Ansible execution environments in the GitLab Container Registry
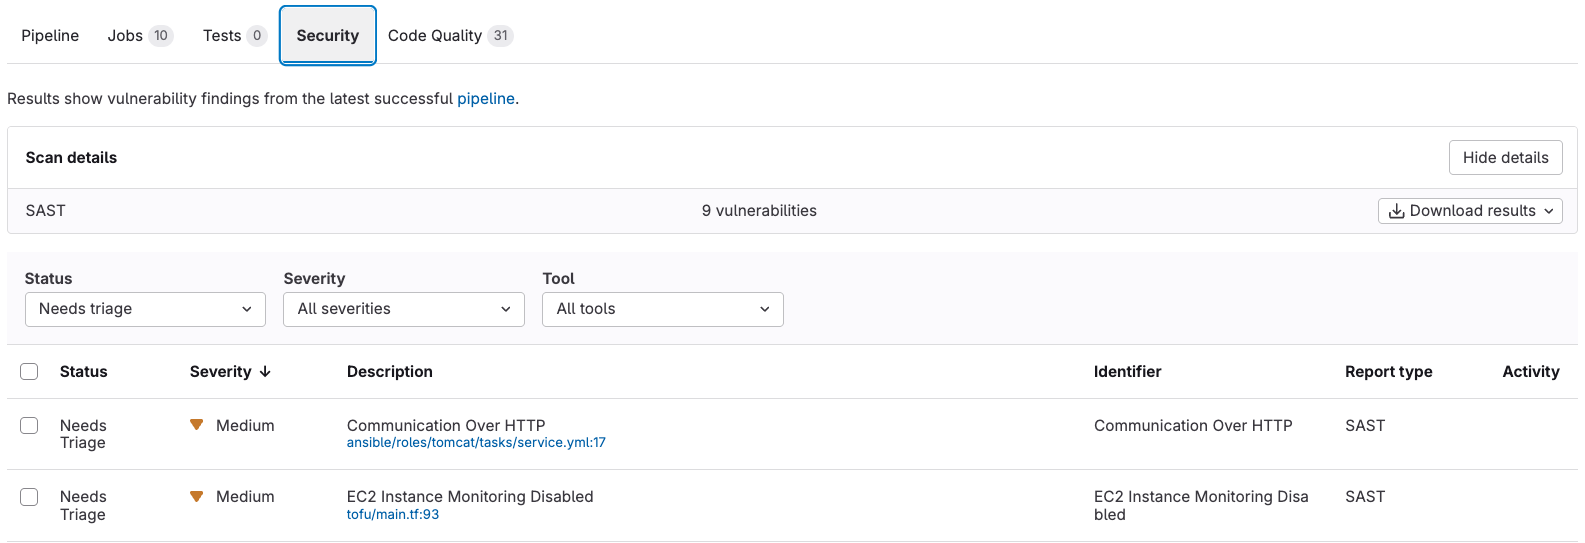
- Security scanning for infrastructure as code and container vulnerabilities
- Integrating Ansible linting with GitLab's Code Quality
- Storing Tomcat binaries in the Generic Package Repository
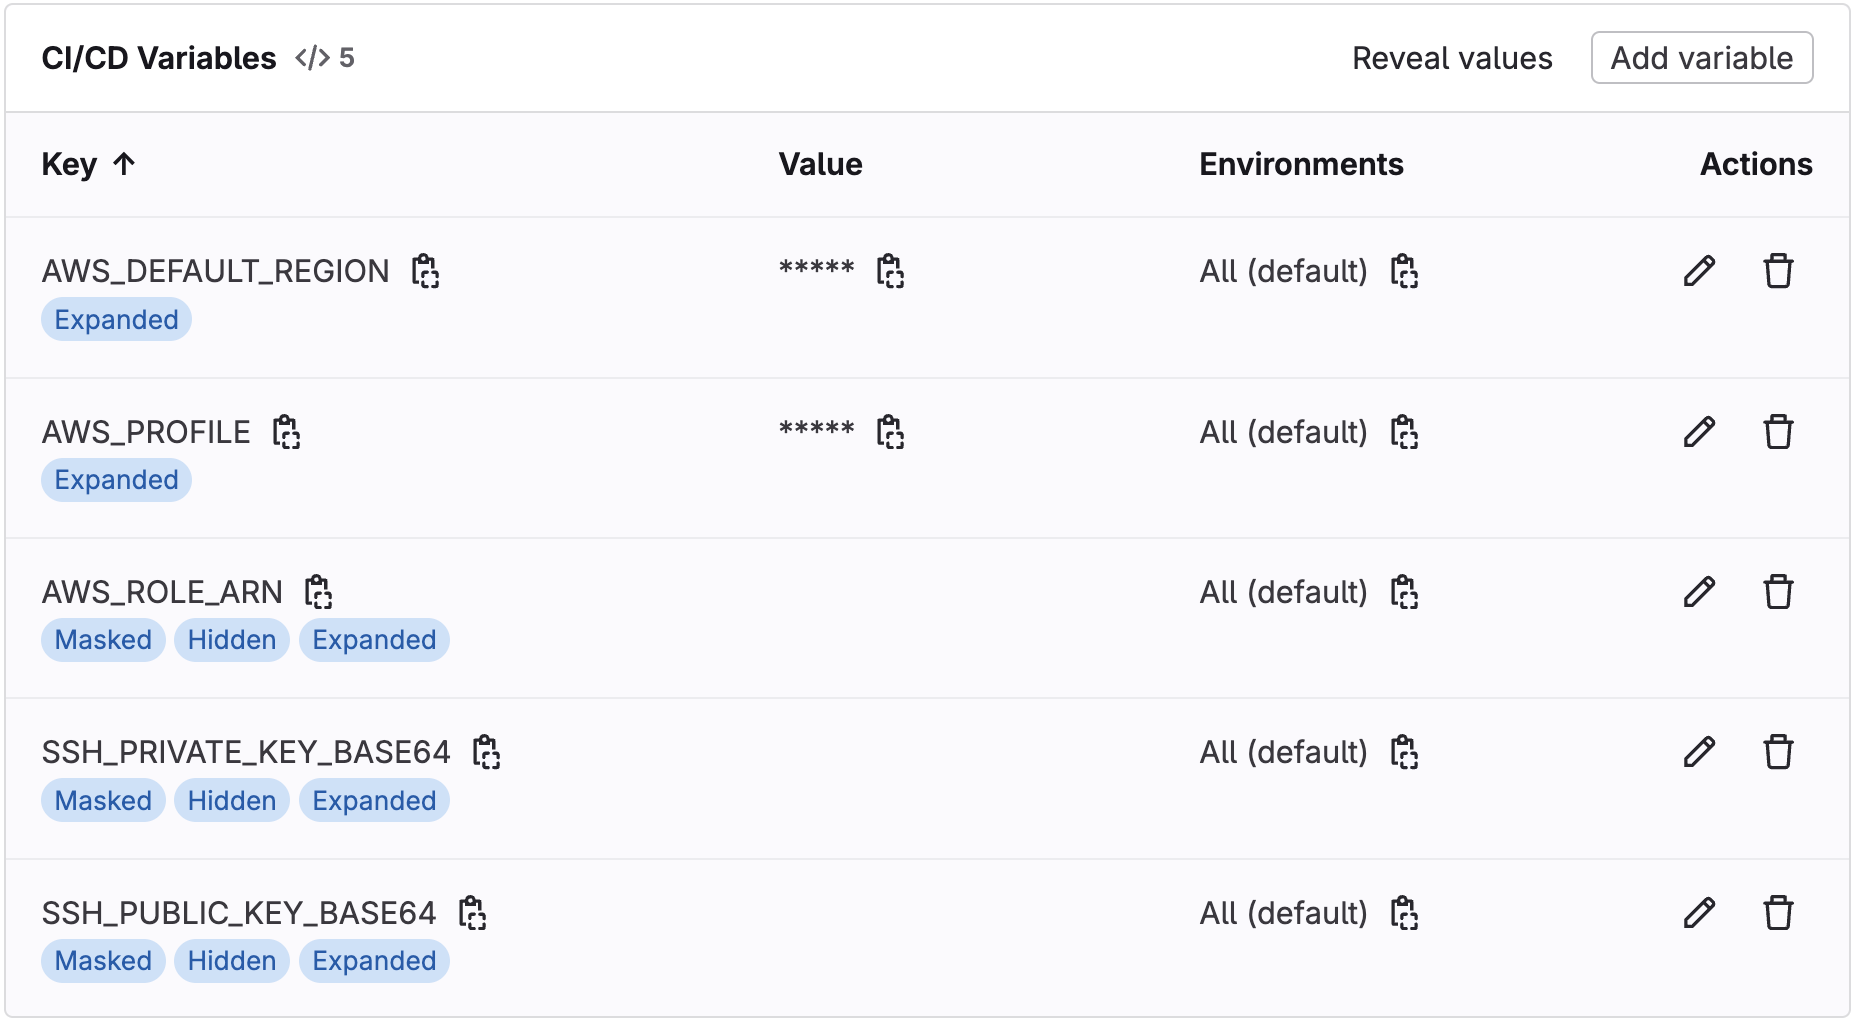
- Utilizing CI/CD environment variables for configuration
The entire workflow is automated through a GitLab pipeline that handles everything from infrastructure provisioning to application deployment and security testing.

Provisioning the environment with OpenTofu
The project begins with provisioning an AWS lab environment using OpenTofu. This is achieved through native integration with GitLab's OpenTofu components, which streamline the infrastructure provisioning process. The pipeline includes validate, plan, and apply stages that ensure proper infrastructure deployment while maintaining GitLab's IaC best practices.
This project is leveraging GitLab's Terraform State management and Terraform Module Registry capabilities. Both of these features are compatible with OpenTofu and HashiCorp Terraform. GitLab OpenTofu components can also be used with HashiCorp Terraform with slight customization. You'll need to build your own image that includes a script named gitlab-tofu to keep it compatible with the component jobs then you can then modify tofu commands with terraform commands.
The OpenTofu module release component is a sample demonstrating how to build a Terraform module and store it in GitLab's Terraform module registry. The provision_lab.tf file imports this module directly from GitLab to deploy the lab environment in AWS. Upon completion, it outputs an inventory file containing the public IP address of the provisioned instance, which can be used in configuration management stages with Ansible.
# From .gitlab-ci.yml
 - component: gitlab.com/components/opentofu/[email protected]
   inputs:
     root_dir: tofu
     as: 🔍 tofu-module-release
     stage: 🏗️ build-tofu-module
     module_version: 0.0.1
     module_system: aws
     module_name: aws-lab
     root_dir: tofu/modules/ansible-demo/aws-lab
     rules:
       - if: "$CI_COMMIT_BRANCH"
         when: manual
# From provision_lab.tf
module "aws-lab" {
  source = "https://gitlab.com/api/v4/projects/67604719/packages/terraform/modules/aws-lab/aws/0.0.1"
}
The validate, plan, and deploy components are configured with **auto_define_backend: true**, which automatically integrates with GitLab's built-in Terraform state backend. This approach eliminates the need for manual backend configuration or external state storage solutions like S3 buckets.
# From gitlab-ci.yml
- component: gitlab.com/components/opentofu/[email protected]
  inputs:
    version: 0.55.0
    opentofu_version: 1.8.8
    root_dir: tofu
    state_name: demo
    as: ✅ tofu-apply
    stage: 🏗️ provision-lab
    auto_define_backend: true
    rules:
      - if: "$CI_COMMIT_BRANCH"
        when: manual

The infrastructure configuration creates a CentOS Stream 9 EC2 instance with appropriate security groups for SSH access from GitLab runners and HTTP access to the Tomcat server.
SSH access and HTTP configuration are configuration thought GitLab CI/CD environment variables.

For secure cloud access, the project implements GitLab's OpenID Connect integration with AWS, using temporary credentials through AWS Security Token Service (STS):
# From .gitlab-ci.yml
.tofu_aws_setup:
 id_tokens:
   OIDC_TOKEN:
     aud: https://gitlab.com
 before_script:
   - echo "${OIDC_TOKEN}" > /tmp/web_identity_token
   - export AWS_PROFILE=""
   - export AWS_ROLE_ARN="${AWS_ROLE_ARN}"
   - export AWS_WEB_IDENTITY_TOKEN_FILE="/tmp/web_identity_token"
Building the Ansible execution environment
A key aspect of modern Ansible deployments is the use of execution environments, containerized versions of Ansible with all necessary dependencies including roles and collections pre-installed. This project creates a custom execution environment based on Fedora 39, which includes ansible-core, ansible-runner, and additional collection such as ansible.posix required in this example for firewall and selinux configuration.
The third-party roles and collections in this project are natively downloaded from the community Ansible Galaxy repository. This approach leverages the community ecosystem of reusable Ansible content, as shown in the execution environment configuration. While this demo utilizes community Ansible resources, the exact same pipeline implementation is fully compatible with Red Hat Ansible Automation Platform. The pipeline structure remains identical, with only the content sources changing. Organizations using the enterprise version can simply redirect their automation content sources to their private Automation Hub instead of the default community Ansible Galaxy. According to the official enterprise documentation, this can be achieved by configuring your private Automation Hub server and access token in the ansible.cfg.
# From execution-environment.yml
---
version: 3

images:
  base_image:
    name: quay.io/fedora/fedora:39

dependencies:
  ansible_core:
    package_pip: ansible-core
  ansible_runner:
    package_pip: ansible-runner
  system:
    - openssh-clients
    - sshpass
  galaxy:
    collections:
    - name: ansible.posix
      version: ">=2.0.0"

The execution environment is defined in a YAML file and built using ansible-builder, then pushed to GitLab's Container Registry. This approach ensures consistent execution environments across different systems and simplifies dependency management.
# From gitlab-ci.yml
🔨 ansible-build-ee:
  stage: 📦 ansible-build-ee
  image: docker:24.0.5
  needs: []
  services:
    - docker:24.0.5-dind
  before_script:
    - apk add --no-cache python3 py3-pip
    - pip install ansible-builder
    - cd ansible/execution-environment
  script:
    - ansible-builder build -t ${EE_IMAGE_NAME}:${EE_IMAGE_TAG} --container-runtime docker
    - docker tag ${EE_IMAGE_NAME}:${EE_IMAGE_TAG} ${CI_REGISTRY_IMAGE}/${EE_IMAGE_NAME}:${EE_IMAGE_TAG}
    - docker login -u $CI_REGISTRY_USER -p $CI_REGISTRY_PASSWORD $CI_REGISTRY
    - docker push ${CI_REGISTRY_IMAGE}/${EE_IMAGE_NAME}:${EE_IMAGE_TAG}
Deploying Tomcat with Ansible
Once the infrastructure is provisioned and the execution environment is built, the pipeline deploys Tomcat using Ansible Navigator. The execution environment built in previous stage is used as image for deployment job in GitLab pipeline.
# From gitlab-ci.yml
🚀 ansible-deploy:
  stage: 🚀 ansible-deploy
  image: ${CI_REGISTRY_IMAGE}/${EE_IMAGE_NAME}:${EE_IMAGE_TAG}
  needs:
    - ✅ tofu-apply
  extends: [.ssh_private_key_setup, .default_rules]
  script:
    - ansible-navigator run ansible/playbook.yml
      -i ansible/inventory/hosts.ini
      --execution-environment false
      --mode stdout
      --log-level debug
The Tomcat deployment fetches the application package from GitLab's Generic Package Repository, configures system users and permissions, and sets up Tomcat as a systemd service.
# From playbook.yml
---
- name: Deploy Tomcat Server
  hosts: all
  become: true
  roles:
      - role: tomcat

  vars:
    # Tomcat package and installation
    tomcat_package: "https://gitlab.com/api/v4/projects/67604719/packages/generic/apache-tomcat/10.1.39/apache-tomcat-10.1.39.tar.gz"
    tomcat_install_dir: "/opt/tomcat"
    java_package: "java-17-openjdk-devel"

Security scanning and code quality
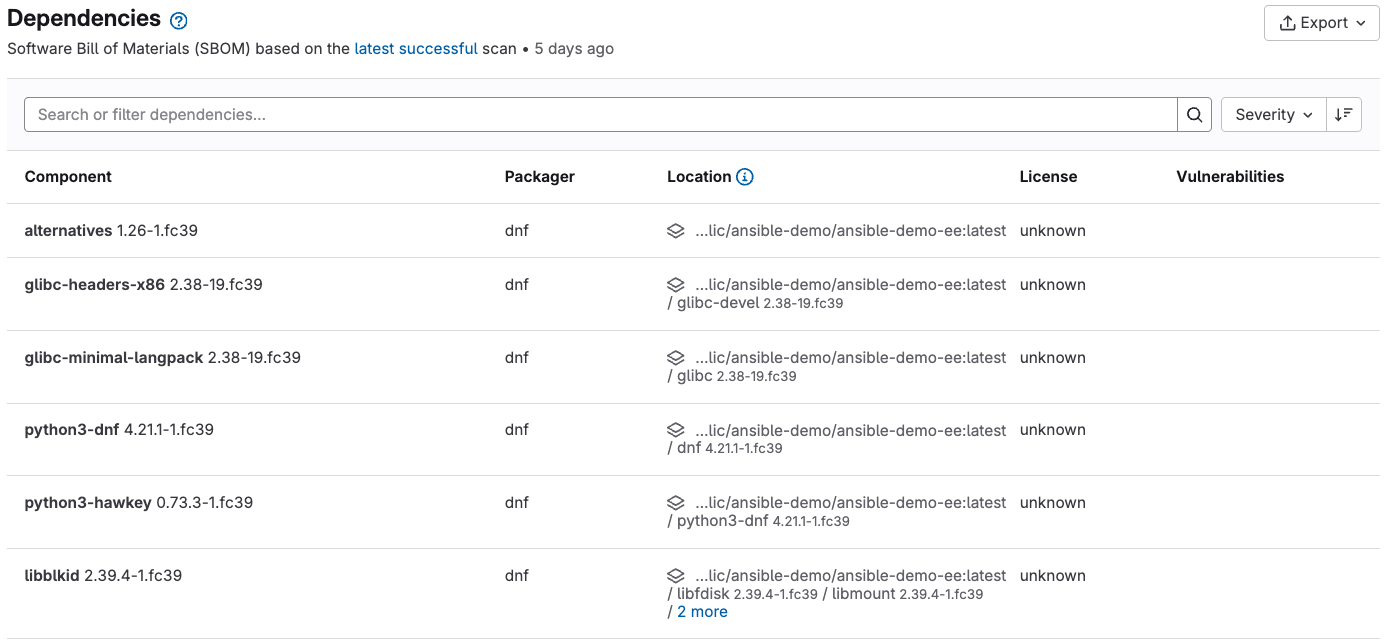
Security is integrated throughout the pipeline with multiple scanning tools. The project uses GitLab's built-in SAST IaC scanner to detect vulnerabilities in both Terraform and Ansible code. Container scanning is applied to the execution environment image to identify any security issues and generate a software bill of materials (SBOM).
# From gitlab-ci.yml
include:
- template: Jobs/SAST-IaC.gitlab-ci.yml
- template: Jobs/Container-Scanning.gitlab-ci.yml

Additionally, the project integrates Ansible Linter with GitLab's Code Quality. This integration produces reports that are displayed directly in the GitLab interface, making it easy to identify and address issues.

Additionally, the project integrates Ansible Linter with GitLab's Code Quality. This integration produces reports that are displayed directly in the GitLab interface, making it easy to identify and address issues.
# From gitlab-ci.yml
🔍 ansible-lint:
  stage: 🚀 ansible-deploy
  image: ${CI_REGISTRY_IMAGE}/${EE_IMAGE_NAME}:${EE_IMAGE_TAG}
  needs: []
  script:
    - ansible-lint ansible/playbook.yml -f codeclimate | python3 -m json.tool | tee gl-code-quality-report.json || true
  artifacts:
    reports:
      codequality:
        - gl-code-quality-report.json

Health-checking the deployment
After deployment, the pipeline performs health checks to ensure that the Tomcat server is running correctly. The health-check job attempts to connect to the server's HTTP port and verifies that it returns a successful response. This ensures that the deployment has completed successfully, and the application is accessible.
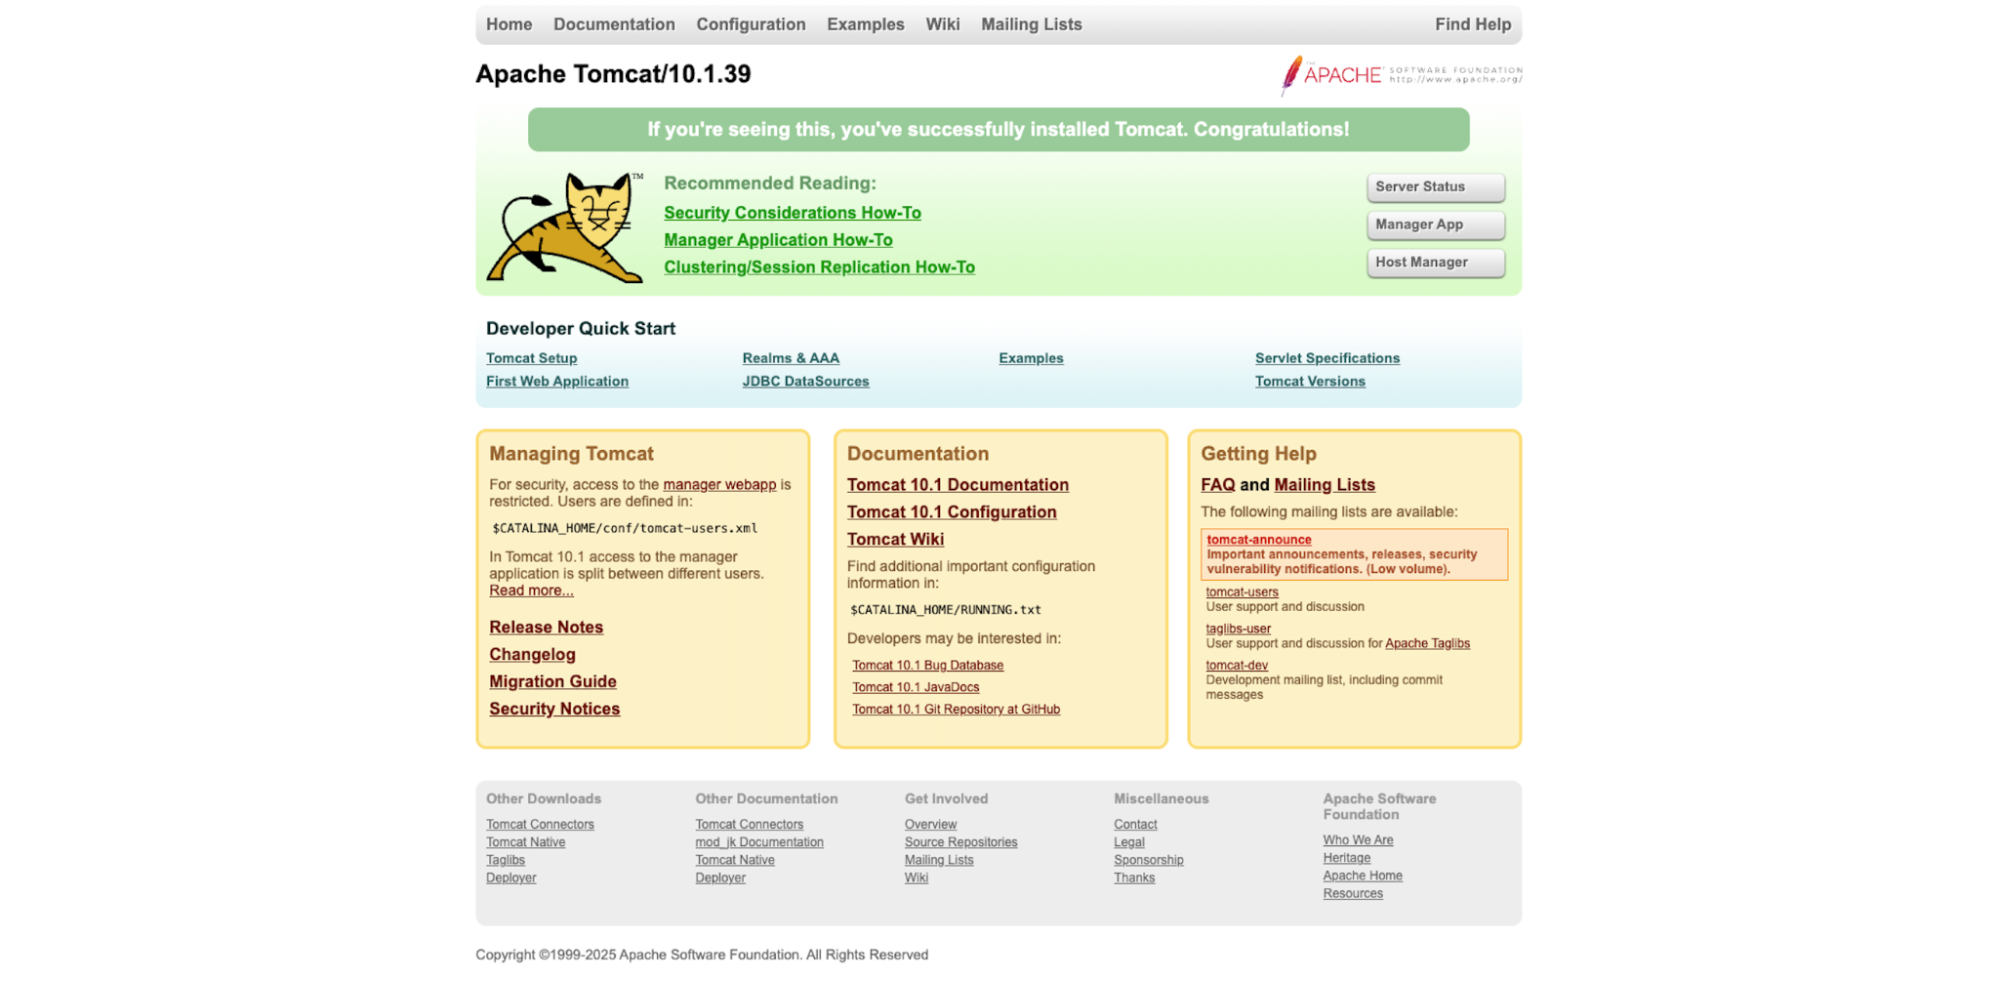
You can test access from your browser into the Tomcat-provisioned instance using the public IP address of the EC2 provisioned instance.

Destroying the lab environment
The final stage of the pipeline is the cleanup process, which destroys the lab environment. This is implemented using the OpenTofu destroy component, which ensures that all resources created during the provisioning stage are properly removed.
Summary
GitLab provides a unified DevSecOps platform and a framework to manage enterprise-scale, mission-critical infrastructure as code and configuration management automation practices. The framework includes version control, project planning and issue management, team collaboration, CI/CD pipelines, binary package and container registry, security scanning, and many other helpful features along with the ability to embed governance and controls in the processes. If you are looking to expand your private or public cloud practices or in general any governed, self-service automation workflow, consider GitLab, TerraForm, and Ansible as the three-legged stool and the foundation for a scalable and governed automation platform.
Get started with a free, 60-day trial of GitLab Ultimate. Sign up today!
We want to hear from you
Enjoyed reading this blog post or have questions or feedback? Share your thoughts by creating a new topic in the GitLab community forum.Share your feedbackFind out which plan works best for your team
Learn about pricingLearn about what GitLab can do for your team
Talk to an expert

